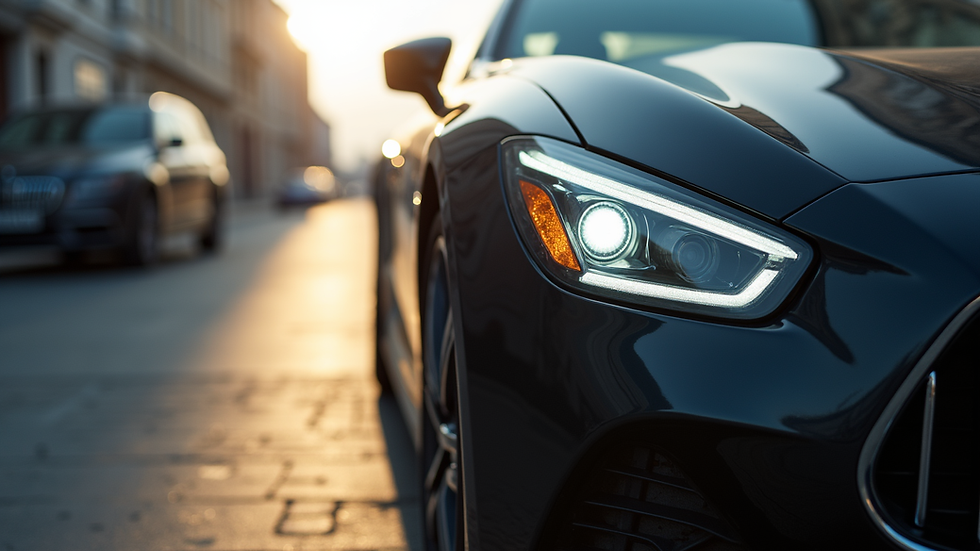
Achieve Flawless Finish with Expert Paint Correction
- Brandon Seda
- 10 hours ago
- 3 min read

Achieving a flawless finish on your vehicle’s paint can feel like an elusive goal. Many car owners dream of that showroom shine, but they often struggle with imperfections like swirl marks, scratches, and oxidation. Fortunately, expert paint correction can transform your vehicle's appearance, restoring its beauty and value. In this post, we will explore what paint correction is, the benefits it offers, and how to achieve that perfect finish.
What is Paint Correction?
Paint correction is a meticulous process that involves removing imperfections from a vehicle's paint surface. This can include:
Swirl Marks: Fine scratches that create a hazy appearance.
Scratches: Deeper marks that penetrate the clear coat.
Oxidation: Dullness caused by exposure to UV rays and environmental contaminants.
The process typically involves several steps, including washing, claying, polishing, and sealing the paint. Each step is crucial for achieving a flawless finish.
Benefits of Paint Correction
Investing in paint correction offers numerous advantages:
Enhanced Appearance: A well-executed paint correction can make your vehicle look brand new. The removal of imperfections allows the paint to reflect light more effectively, resulting in a deep, glossy finish.
Increased Value: A vehicle with a flawless paint job is more appealing to potential buyers. If you plan to sell your car, paint correction can significantly increase its resale value.
Protection: Many paint correction processes include a sealant or wax application, providing an additional layer of protection against future damage.
Longer Lasting Results: Regular paint correction can extend the life of your vehicle's paint, preventing the need for costly repainting in the future.
The Paint Correction Process
Step 1: Washing
The first step in paint correction is a thorough wash. This removes dirt, grime, and contaminants from the surface. Use a pH-balanced car shampoo and a microfiber wash mitt to avoid adding new scratches.
Step 2: Claying
After washing, the next step is claying. This involves using a clay bar to remove embedded contaminants that washing alone cannot eliminate. The clay bar will glide smoothly over the paint, ensuring a clean surface for polishing.
Step 3: Polishing
Polishing is where the magic happens. This step involves using a dual-action polisher and polishing compounds to remove imperfections. There are different grades of polish, ranging from heavy-cut to finishing polish. The choice depends on the severity of the imperfections.
Heavy-Cut Polish: Used for deep scratches and heavy swirl marks.
Medium-Cut Polish: Ideal for moderate imperfections.
Finishing Polish: Used for achieving a high-gloss finish.
Step 4: Sealing
Once polishing is complete, applying a sealant or wax is essential. This step protects the paint from UV rays, dirt, and other environmental factors. Sealants typically last longer than wax, providing extended protection.

Choosing the Right Products
Selecting the right products for paint correction is crucial. Here are some recommendations:
Polishers: A dual-action polisher is user-friendly and effective for beginners. Brands like Porter Cable and Griot's Garage offer reliable options.
Polishing Compounds: Look for reputable brands such as Meguiar's, Menzerna, or Chemical Guys. Each brand offers a range of products suitable for different levels of correction.
Sealants and Waxes: Opt for high-quality sealants like Wolfgang Deep Gloss Paint Sealant or Collinite 845 Insulator Wax for long-lasting protection.
Common Mistakes to Avoid
While paint correction can yield stunning results, there are common pitfalls to avoid:
Skipping the Wash: Never skip the washing step. Dirt and grime can cause more scratches during the polishing process.
Using the Wrong Products: Not all polishes are created equal. Using a heavy-cut polish on a lightly scratched surface can lead to unnecessary paint removal.
Overworking the Paint: It’s essential to keep the polisher moving to avoid burning through the clear coat. Take your time and work in small sections.
Neglecting Maintenance: After paint correction, regular maintenance is key. Wash your vehicle frequently and apply a sealant every few months to maintain that flawless finish.
When to Seek Professional Help
While many car enthusiasts enjoy DIY paint correction, there are times when it’s best to seek professional help. If your vehicle has severe damage, such as deep scratches or extensive oxidation, a professional detailer can provide the expertise and tools needed for optimal results.
Finding a Professional Detailer
When searching for a professional detailer, consider the following:
Experience: Look for someone with a proven track record in paint correction.
Reviews: Check online reviews and testimonials to gauge customer satisfaction.
Portfolio: Ask to see before-and-after photos of previous work.
Conclusion
Achieving a flawless finish through expert paint correction is within reach. By understanding the process and investing in the right products, you can restore your vehicle's paint to its former glory. Whether you choose to tackle the job yourself or enlist the help of a professional, the results will be worth the effort. Remember, a well-maintained paint job not only enhances your vehicle's appearance but also protects its value for years to come. Take the first step today and give your car the care it deserves.

Comments